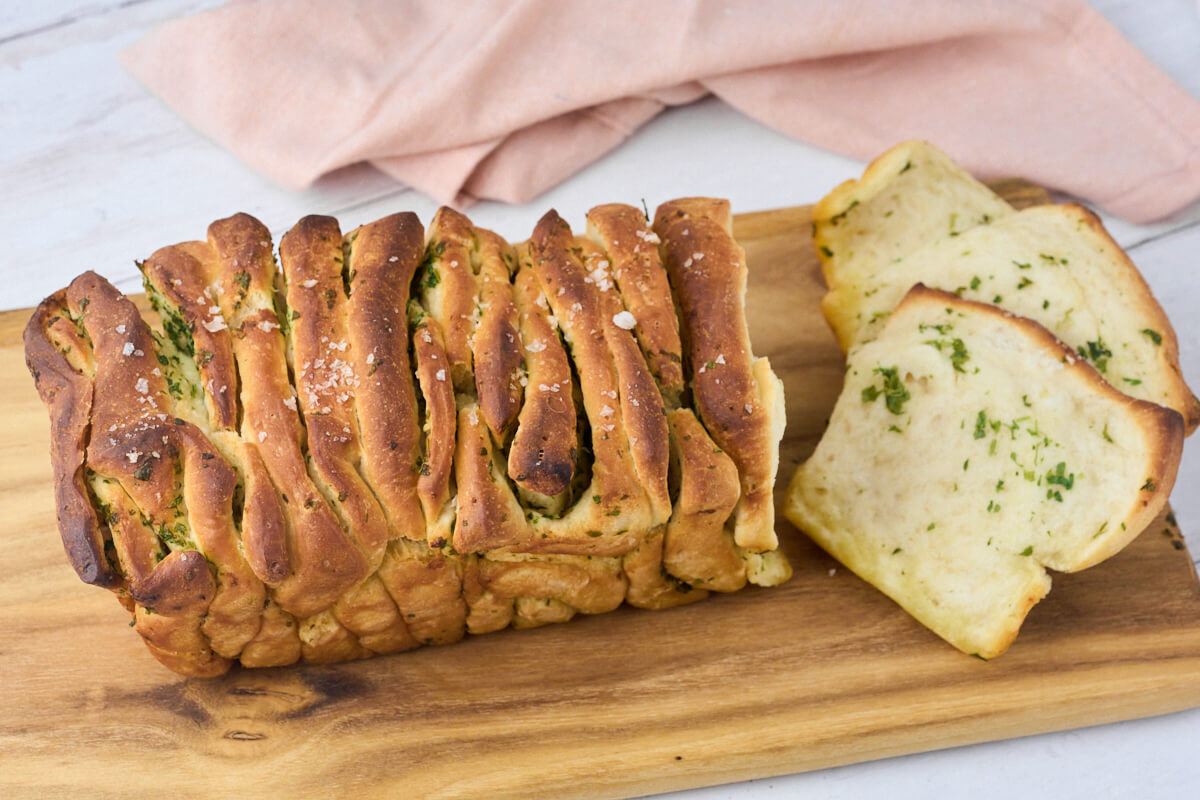
This pull apart garlic bread with parsley is just delicious, easy to make, soft and moist inside, and crispy and tasty on top.
Jump to
You might have seen viral videos of similar bread on social media; here is our version of the popular pull-apart garlic bread.
Why you will love this recipe
Easy – You can easily make this bread, and the kids can even help you.
Quick – It is a quick bread, so perfect for dinner.
Ingredient notes
Milk – I use milk in the dough; if you can’t tolerate it, you can also replace it with water.
Wheat Flour – It’s a good idea to use flour with a high protein content when baking bread. This gives you the best structure and rise in the bread. Aim for a protein percentage of at least around 12% if you can find it.
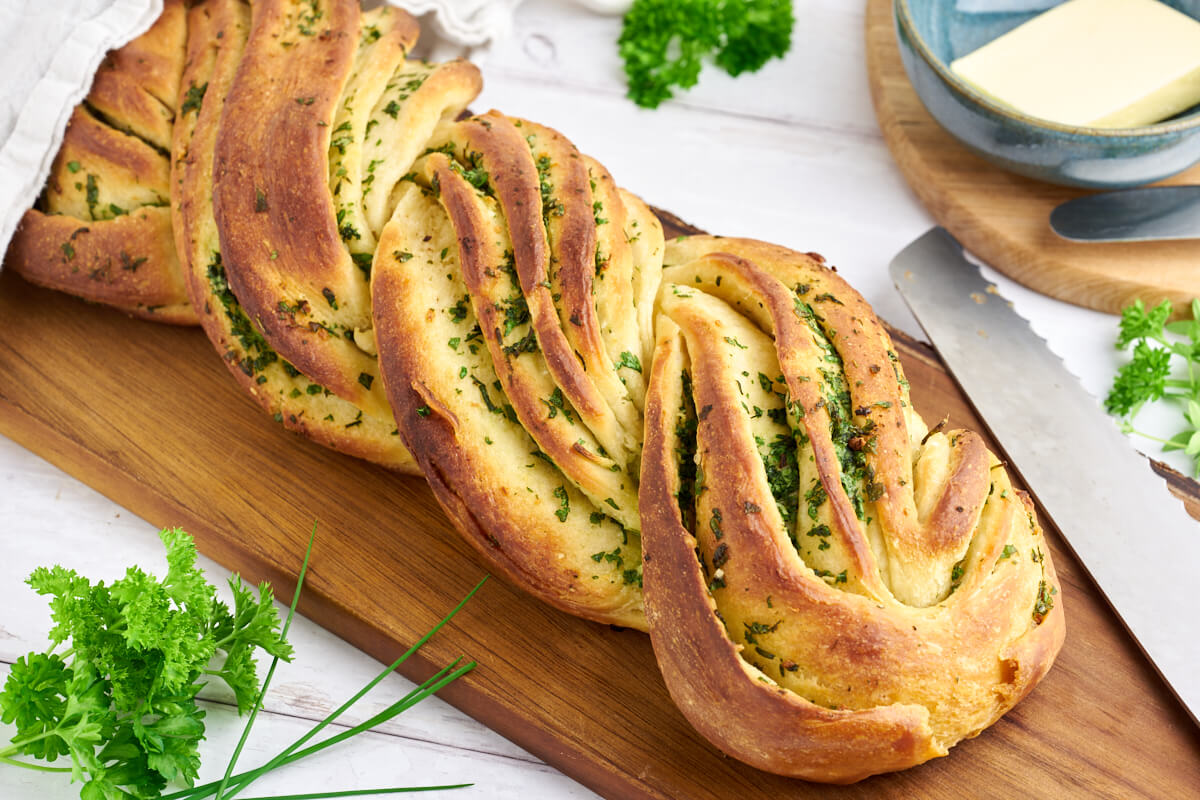
Parsley – I add parsley to my garlic butter because it tastes really good, and it also looks beautiful with a bit of green in the bread. If you prefer to use another herb or skip it entirely, feel free to do so. Also try making the bread with thyme, basil, chives, or a mix of different herbs.
How to make pull apart garlic bread with parsley?
This bread is really easy, and it doesn’t take long to make.
- First, you need to make the dough. It’s a regular yeast dough made by dissolving yeast in warm milk and adding salt and sugar. Then add wheat flour, knead the dough really well, and let it rise.
- Once the dough has risen, roll it out on a floured surface. Spread it with a mixture of soft butter, pressed garlic, and chopped parsley, then cut it with a pizza cutter or a sharp knife.
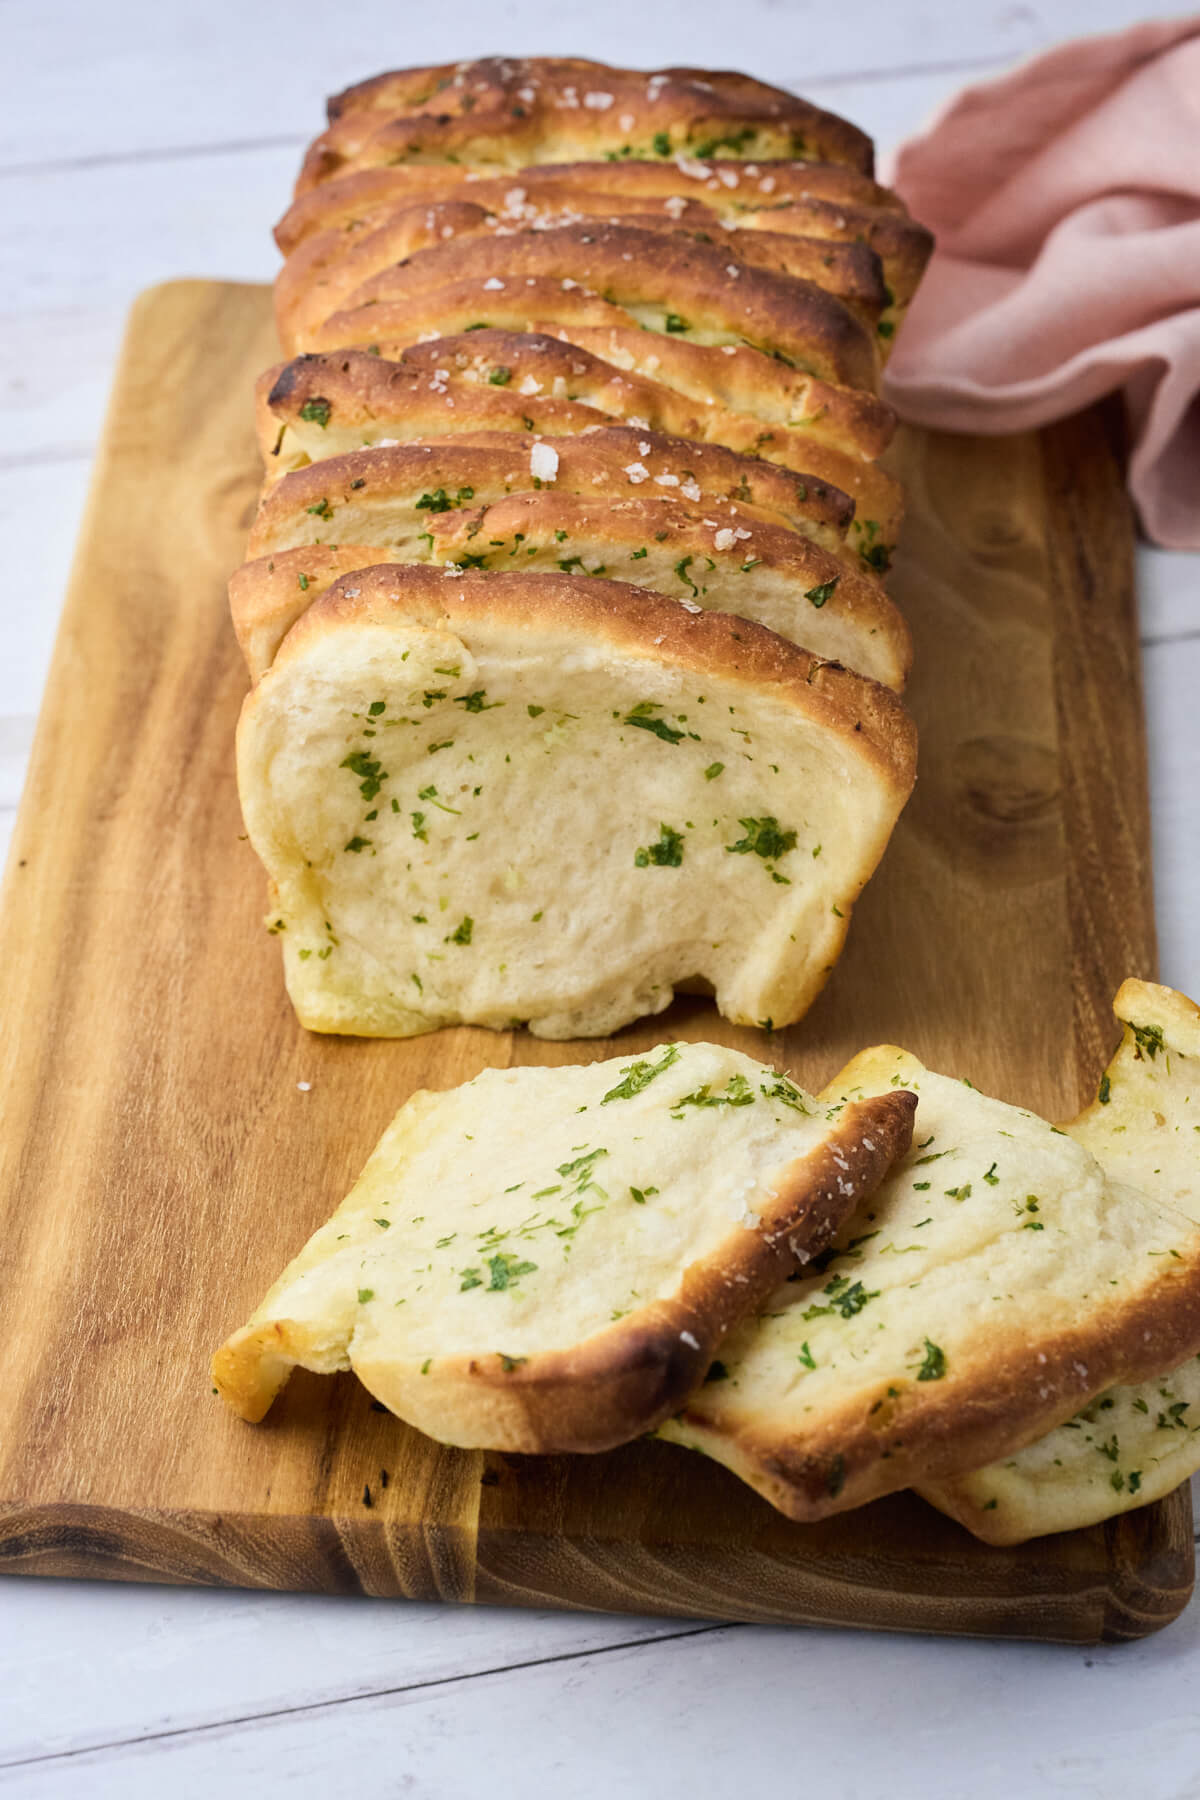
- Stack all the pieces on top of each other and place them upright in a buttered bread pan.
- Let the bread rise again for about half an hour while preheating the oven.
- Put the bread in the oven and bake it for 15-18 minutes until it’s golden and crispy on top and fully baked.
Serve the bread warm, and pull pieces off at the table.
Find the full recipe further down the page.
Tips and Tricks
Use a Mixer – This dough needs to be kneaded really well to get the right structure, so I recommend using a mixer to knead it. You can probably do it by hand, but it requires some strong hands to knead for that long.
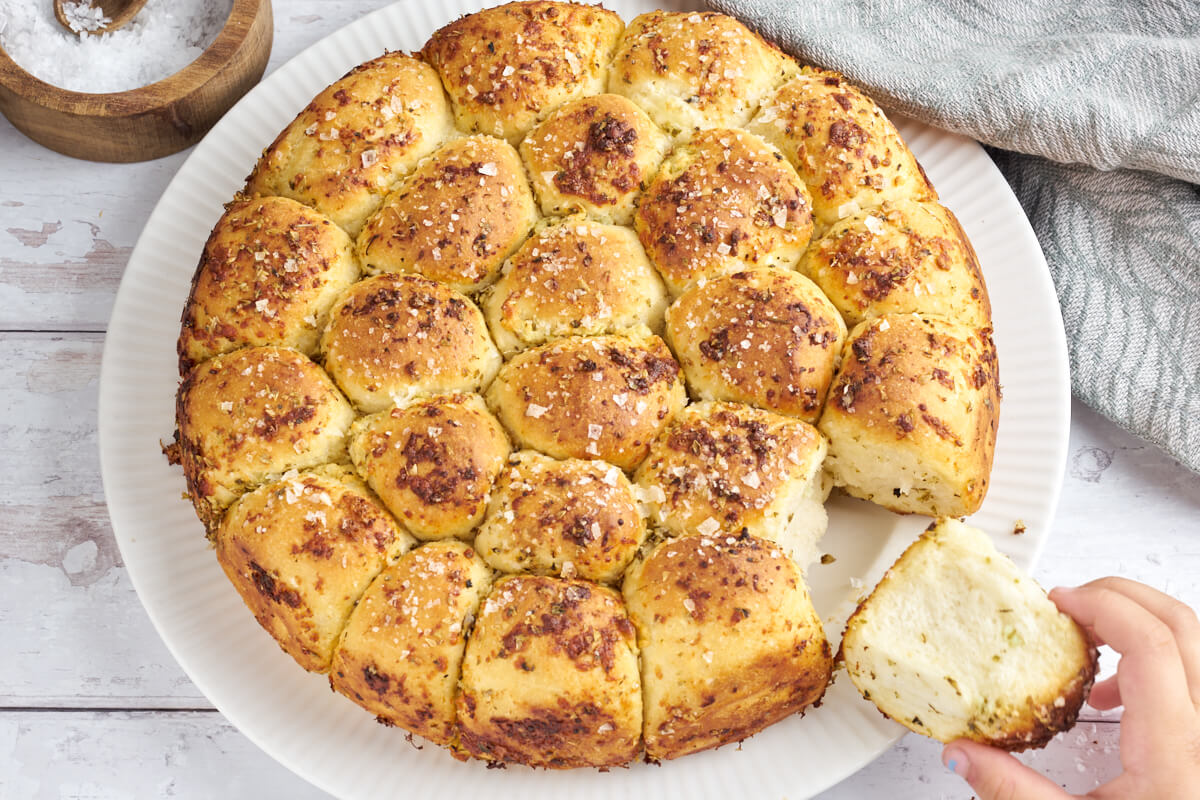
Serving – Serve the bread as a side for summer barbecues or for autumn and winter stews or soups.
Frequently Asked Questions
Yes, you can. It tastes really delicious when it’s still a bit warm, so try to wait as long as you can. However, it’s still tasty when cooled.
More delicious bread
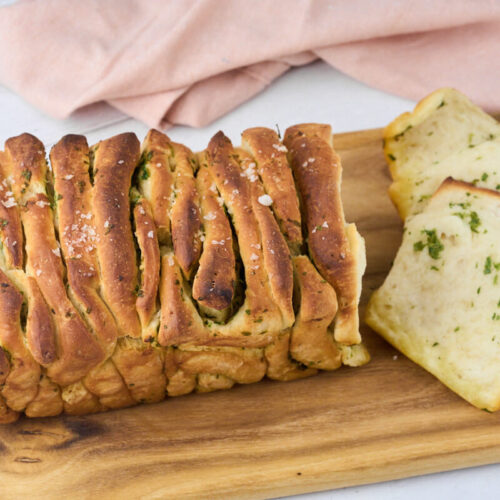
Pull apart garlic bread with parsley
Ingredients
Dough
- 2 dl milk
- 25 g fresh yeast
- 1 tsp salt
- 1 tsp sugar
- 325 g all purpose flour
Garlic/parsley butter
- 80 g butter softened
- 2 cloves garlic
- 1 dl parsley
Instructions
Dough
-
Warm the milk slightly in the microwave until it is lukewarm.2 dl milk
-
Dissolve the yeast in the milk, and add salt and sugar.25 g fresh yeast, 1 tsp salt, 1 tsp sugar
-
Add the flour gradually while kneading the dough in a mixer. Knead for about 10-15 minutes until the dough is smooth and elastic.325 g all purpose flour
- Let the dough rise in a warm place for 30 minutes while you prepare the herb butter.
Garlic/Herb Butter
-
Put soft butter, chopped parsley, and pressed garlic in a bowl. Mix it together into a uniform garlic butter with a fork.2 cloves garlic, 1 dl parsley, 80 g butter
Shaping the Bread
- After the dough has risen for 30 minutes, roll it out into a rectangle about 25×45 cm.
- Spread the garlic/parsley butter evenly over the dough.
- Cut the dough into 6×3 pieces. Use a pizza cutter or a sharp knife.
- Grease a bread loaf pan about 12×23 cm with cooking spray or butter.
- Stack the pieces of dough with garlic butter on top of each other, and place them upright in the loaf pan.
- Cover the bread with a tea towel, and let it rise again in a warm place for 30 minutes. Meanwhile, preheat the oven to 225 degrees Celcius.
- Bake your garlic bread in the oven at 225 degrees Celcius for about 15-18 minutes.
- Serve warm or cooled.
Video
Nutrition
Update
This recipe was originally published on December 17, 2024 – We have since thoroughly tested and updated it with more relevant information to give you the best possible experience with the recipe.
This recipe was last updated: